DIY Pet Door Installation: Tips for Homeowners
Quick Answer
DIY pet door installation is achievable for homeowners with basic tools and some preparation. Selecting the right pet door type, accurately sizing it for your pet, and understanding the installation process for standard or sliding glass doors are key steps. Always prioritize security, proper sealing for energy efficiency, and regular maintenance to ensure your pet’s safety and the longevity of your investment. For complex installations or maximum security, professional help is recommended.
Table of Contents
- Can You Install a Pet Door Yourself? What to Know Before You Start
- How to Choose the Right DIY Pet Door for Your Home
- DIY Pet Door Installation for Standard Entry Doors
- DIY Pet Door Installation for Sliding Glass Doors
- Pet Door Security, Maintenance, and Troubleshooting
- Alternatives to Traditional DIY Pet Doors
- When to Choose Professional Pet Door Installation Instead of DIY
- Frequently Asked Questions About DIY Pet Door Installation
Can You Install a Pet Door Yourself? What to Know Before You Start
Installing a pet door yourself is a rewarding project for many homeowners, granting pets freedom and reducing interruptions from constant demands to go outside. However, approaching a DIY installation requires careful planning to avoid compromising your home’s security, insulation, or aesthetics. We have been manufacturing and installing pet doors since 1986, and we’ve seen everything from perfectly executed DIY projects to those that leave homeowners wishing they had called a professional. Before you begin, assess your comfort level with power tools and precise measurements. A well-installed pet door should integrate smoothly, maintain your home’s energy efficiency, and provide secure access for your furry friend. Over time, poorly fitted doors can lead to drafts, higher energy bills, or even security vulnerabilities, which are exactly the pain points we aim to solve.
How to Choose the Right DIY Pet Door for Your Home
Selecting the correct pet door is half the battle for a successful DIY installation. This choice impacts not only ease of installation but also your pet’s comfort, your home’s security, and its energy efficiency. Think about your pet’s size, your door type, and your local climate.
Understanding Pet Door Types: In-Door, Wall, and Sliding Glass
The primary pet door types are designed for specific installation points, each with distinct advantages and challenges. In-door pet doors are built directly into standard entry or utility doors, offering a clean look and straightforward installation for many handy homeowners. Wall-mounted pet doors provide flexibility by allowing access through any exterior wall, bypassing existing doors entirely, but they usually involve more complex framing and weatherproofing work. Sliding glass door pet doors integrate into your existing patio door system, either as a semi-permanent insert panel or a full glass replacement unit. Each type demands different tools and skill sets, and our in-glass units for sliding doors are particularly popular for their smooth integration and superior weather-tightness.
Sizing Your Pet Door: From Tiny Cats to Large Dogs
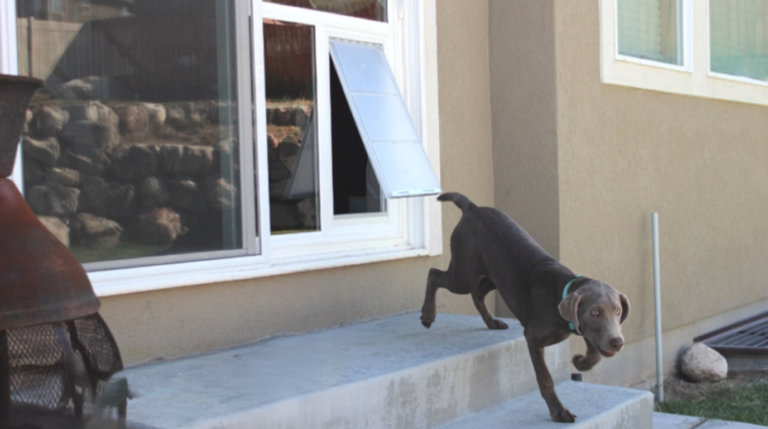
Correctly sizing your pet door is critical for your pet’s comfort and safety. Measure your pet’s height from the floor to the top of their shoulders, adding an inch or two for clearance, and their width at the widest point. Pet Door Products offers solutions for all pet sizes, including extra-large dog doors, which other brands often struggle to accommodate. A door that is too small can deter your pet from using it or even cause injury, while one that is too large can compromise energy efficiency and security.
Pro Tip: Have your pet walk through a cardboard cutout of the potential door opening to confirm comfortable clearance before making any cuts to your actual door or wall.
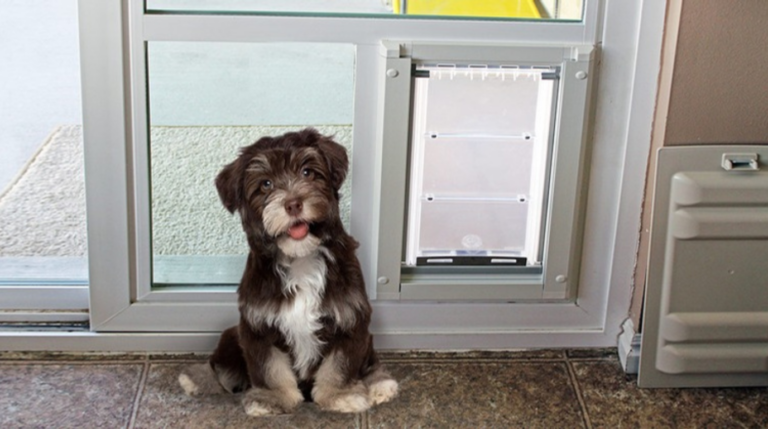
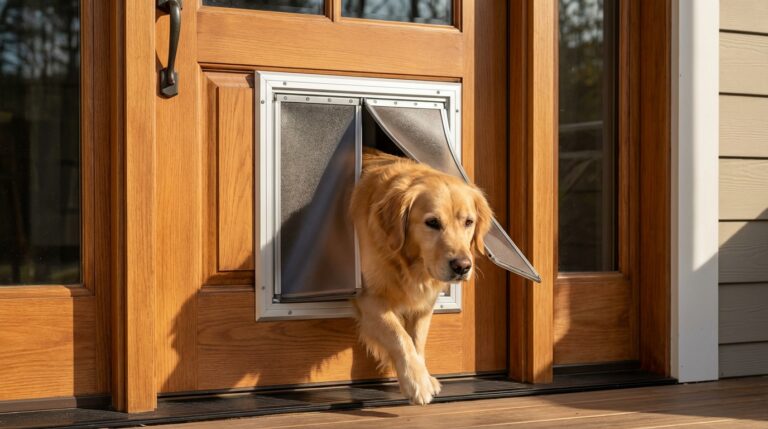
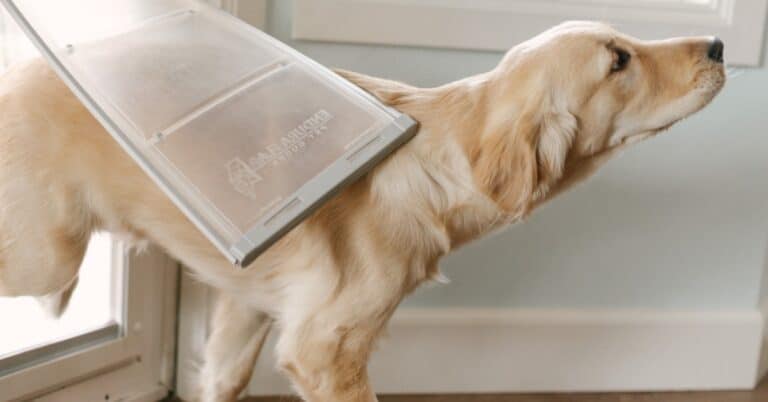
Selecting the Best Flap Material for Durability and Insulation
The pet door flap is the most critical component for both durability and energy efficiency. We manufacture our Endura Flap pet doors with a flexible, dual-pane translucent flap that seals tightly against the outside weather using a patented magnet system. This design significantly reduces air conditioning and heat loss, and can withstand winds up to 50 mph, making it incredibly weather-tight. Flimsy vinyl or single-pane flaps often tear, warp, or allow drafts, contradicting our commitment to quality and longevity. Choosing a high-quality flap means you won’t need to replace it yearly, and your home will stay comfortable.
DIY Pet Door Installation for Standard Entry Doors
Installing a pet door in a standard entry or utility door is one of the most common DIY projects, offering your pet immediate access to the outdoors. This process involves careful planning, precise cutting, and secure fastening to maintain your door’s integrity and your home’s insulation. If done correctly, it provides pet freedom without compromising home security or energy efficiency, which is a major concern for many homeowners.
Tools and Supplies for In-Door Pet Door Installation
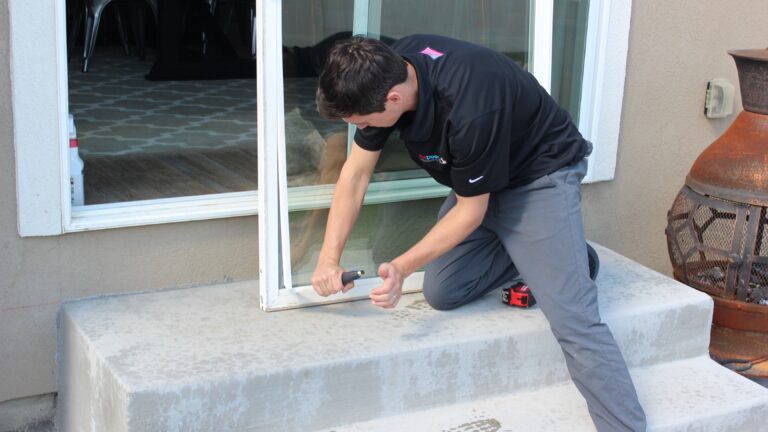
Gathering the right tools beforehand streamlines the installation and ensures a professional finish. You’ll need a tape measure, a pencil, painter’s tape, a jigsaw (with a fine-tooth blade), a drill (with drill bits), a screwdriver, a utility knife, and safety glasses. Our Endura Flap pet doors come with an exterior and interior frame, a security panel, mounting hardware, and installation instructions, so you have everything you need for the pet door itself. Learn more about DIY pet door installation here.
Step-by-Step Guide: Installing a DIY Pet Door in Your Door
Follow these steps carefully to ensure a secure and energy-efficient installation.
- Mark the Opening: Carefully follow the template provided with your pet door. Tape it to the desired height on your door, ensuring the bottom of the opening is at least 1-2 inches above your pet’s stomach.
- Drill Pilot Holes: Use a drill to create pilot holes at the corners of your marked cutout. These holes will allow your jigsaw blade to enter the door smoothly.
- Cut the Opening: Insert your jigsaw blade into a pilot hole and carefully cut along the marked line. Maintain a steady hand and slow pace to achieve clean edges.
- Clean and Seal Edges: Once cut, remove any sawdust or debris. For wooden doors, apply a sealant or primer to the exposed edges to prevent moisture damage.
- Install the Frames: Place the exterior and interior frames of the pet door into the opening, ensuring they fit snugly.
- Secure with Hardware: Use the provided screws to fasten the two frames together through the door. Do not over-tighten, which can warp the door or crack the frames.
- Attach the Flap and Security Panel: Finally, install the pet door flap and secure the locking panel mechanism according to the manufacturer’s instructions.
Safety Tips for Cutting and Securing the Pet Door
Always prioritize safety when working with power tools to avoid injury and damage to your door. Wear safety glasses and gloves, and ensure your work area is clear and well-lit. When cutting, support the door on both sides to prevent splintering, especially with hollow-core or thin-skinned doors. After installation, check all screws for tightness and apply weatherstripping to any visible gaps around the frame. This ensures maximum energy efficiency and security, particularly important in climates with extreme temperatures, like the hot summers and cold winters common in Utah.
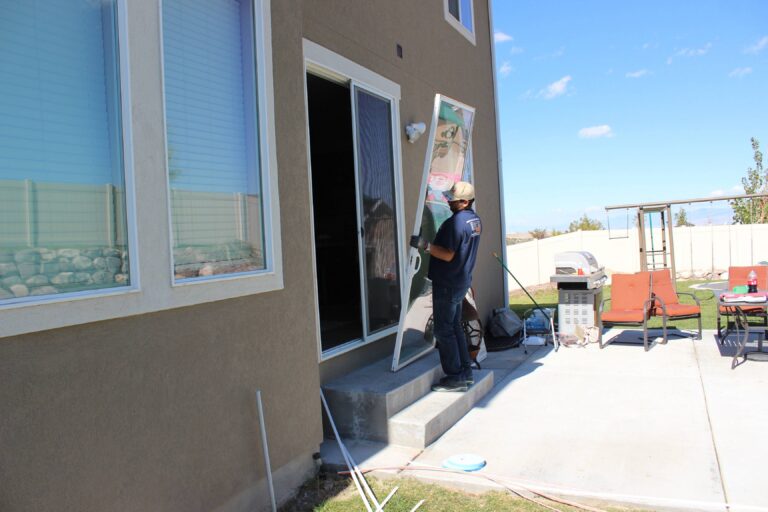
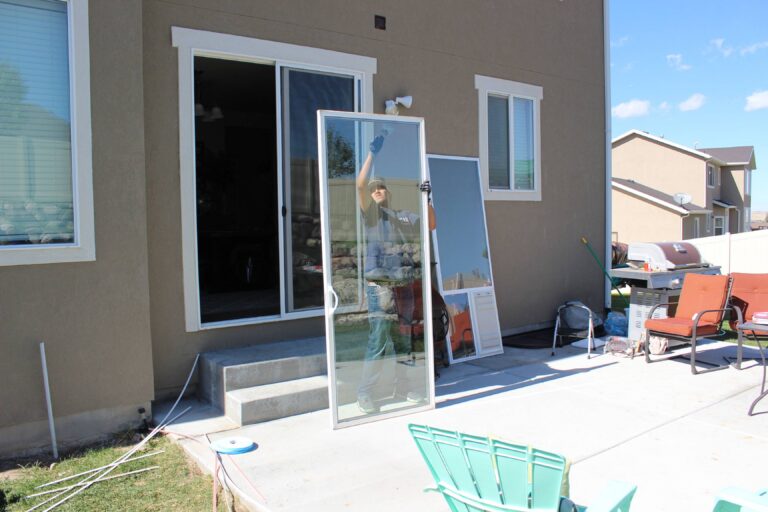
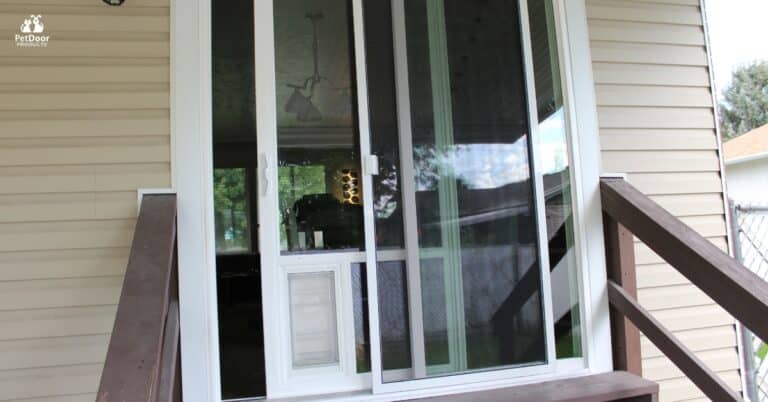
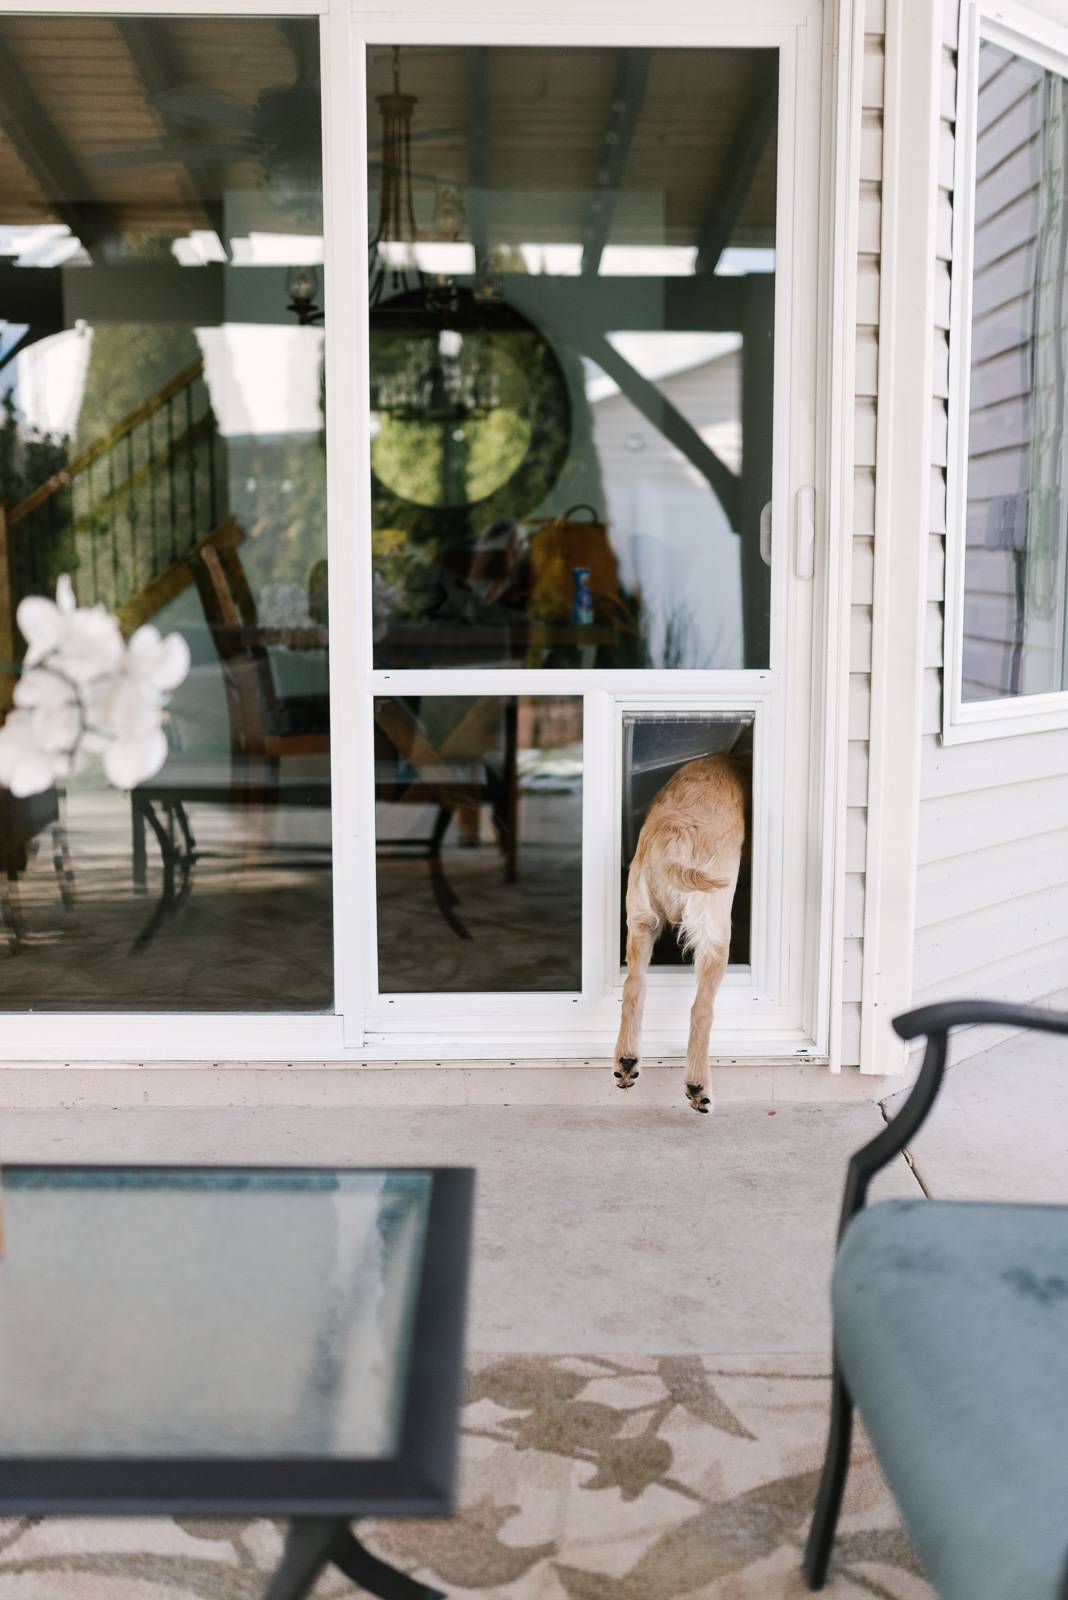
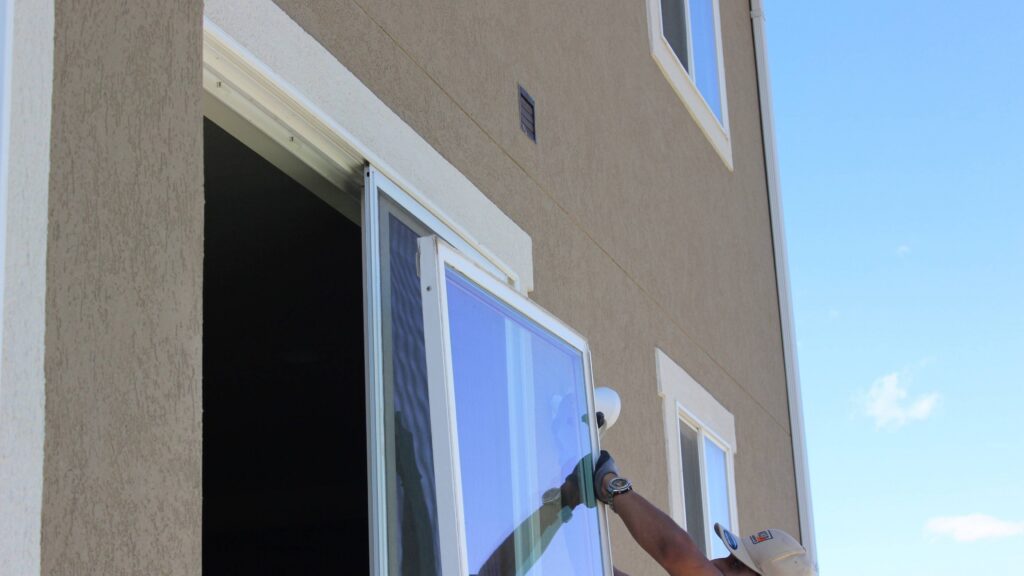
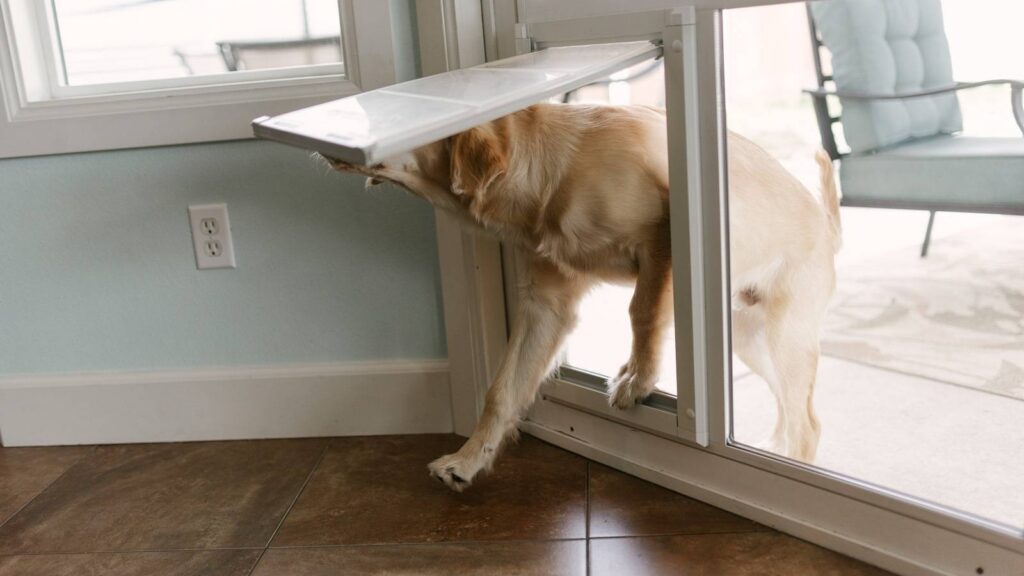
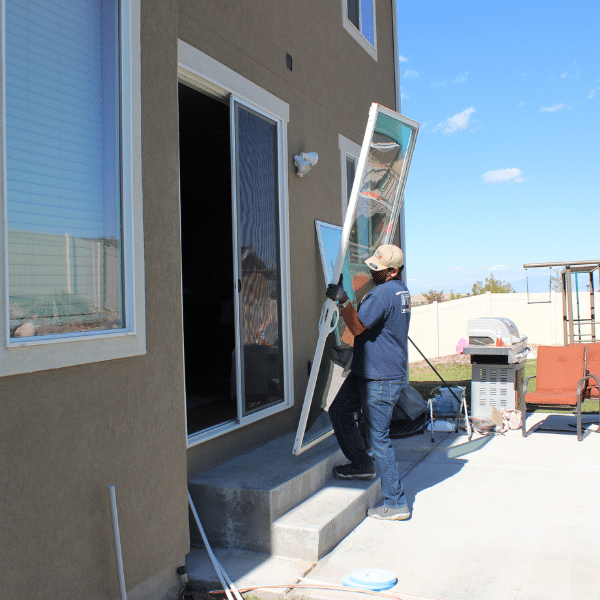
DIY Pet Door Installation for Sliding Glass Doors
Integrating a pet door into a sliding glass door requires a different approach than a standard entry door, focusing on maintaining the glass panel’s integrity and the door’s sliding functionality. Many homeowners opt for a panel insert, which is a simpler DIY solution, or a more permanent in-glass unit. Our specialty lies in providing integrated solutions that blend seamlessly with your home and preserve thermal efficiency.
Essential Tools and Materials for Sliding Door Inserts
For a DIY sliding glass pet door panel insert, you typically won’t need to cut into your existing door. Materials often include the pet door panel itself (which comes with its own frame and pet flap), weatherstripping, and often a locking mechanism to secure the sliding door to the pet panel. You’ll need a tape measure, a level, and possibly a utility knife for trimming weatherstripping. We recommend panels constructed with durable, weather-tight materials that offer excellent insulation, preventing drafts and maintaining your home’s climate control.
Pro Tip: While some inserts are designed for temporary use, consider a more permanent solution for better energy efficiency and security. Our integrated sliding glass pet doors are built to last and come with a 15-year warranty.
How to Install a DIY Pet Door Panel in a Sliding Door Track
Installing a pet door panel usually involves fitting it directly into your sliding door’s track. First, measure your sliding door’s height from the bottom track to the top track. Many panel inserts are spring-loaded to provide a snug fit. Compress the panel and place the top into the upper track, then release it into the bottom track. Your sliding glass door will then close against the panel. Ensure the panel is plumb and level. The next step is critical for both security and energy savings.
Securing Your Sliding Pet Door for Safety and Energy Efficiency
A sliding glass door pet panel needs to be properly secured to prevent security breaches and heat loss. After installing the panel, apply weatherstripping along all vertical seams where the pet panel meets the sliding door and the door frame. This creates a weather-tight seal, critical for energy efficiency, especially during hot summers or cold winters typical in areas like Tolleson or West Valley City. Next, install a secondary locking mechanism, such as a charley bar, pin lock, or a special latch that secures your sliding door directly to the pet panel. This maintains home security and prevents unwanted intrusions. X, a satisfied customer, praised our installations for keeping “the outside elements” out, confirming the importance of these security and weatherproofing steps.
Pet Door Security, Maintenance, and Troubleshooting
A pet door offers significant convenience, but maintaining its security and functionality ensures long-term satisfaction. Neglecting these aspects can lead to vulnerabilities or costly repairs. We prioritize secure, safe designs built to last.
How to Make Your Pet Door More Secure
Burglar-proofing your pet door involves a few key strategies. First, always use a sturdy security panel to lock the pet door opening when not in use, especially overnight or when you’re away. Our Endura Flap pet doors include a strong security panel. Second, for sliding glass door installations, use secondary locks, such as a charley bar or a bolt lock, to secure the sliding door to the pet door panel or the frame. Third, consider motion-activated exterior lighting near the pet door; anything that deters potential intruders. The goal is to make any attempt to compromise the pet door costly and time-consuming for an intruder.
Cleaning and Maintaining Your Pet Door
Regular cleaning and maintenance extend the life of your pet door and preserve its energy efficiency. Clean the entire pet door frame and flap with mild soap and water monthly. Pay special attention to the flap’s edges and any magnetic seals, as dirt or debris can reduce their effectiveness. Check for worn weatherstripping around the edges of the frame and replace it as needed to maintain a weather-tight seal. For sliding door tracks, keep them clear of debris to ensure smooth operation. This simple routine helps uphold the “Built to Last” promise of a quality pet door.
Troubleshooting Common Pet Door Problems
Even the best pet doors can encounter issues. If your pet door is letting in drafts, check the weatherstripping around the flap and frame; it might need replacing or adjusting. If the flap isn’t sealing properly, clean the magnetic strips and ensure no debris is lodged in the mechanism. For pet doors in sliding glass doors, ensure the main sliding door is fully secured against the pet panel and that all gaps are sealed with weatherstripping. If the flap stops swinging freely, check for dirt in the hinges or a damaged hinge mechanism. Most problems have straightforward solutions, though significant damage might warrant replacing a part, which our 15-year warranty covers for our products.
Alternatives to Traditional DIY Pet Doors
Sometimes a traditional, permanently installed pet door isn’t the right fit for your home or lifestyle. Homeowners, especially renters or those seeking less invasive options, have several alternatives that still provide pet freedom. These solutions often focus on temporary integration and ease of removal.
Can You Install a Pet Door in a Window?
Yes, you can install a pet door in a window, providing an alternative to cutting into a door or wall. Window inserts for pet doors are specifically designed for sash windows (double-hung windows) that open vertically. These units typically consist of a frame with a pet door built into it that slides into the window opening. While they offer pet access without modifying your main doors, they do mean that window cannot be fully opened for ventilation when the insert is in place. They are a good temporary solution or for areas where door access isn’t feasible.
Temporary and Removable Pet Door Solutions for Renters
Renters often face restrictions on modifying their homes, making temporary and removable pet door solutions ideal. Patio door panel inserts for sliding glass doors are excellent for renters, as they fit into the existing track and can be removed without damage when moving out. Another option is a window unit, as mentioned above. These solutions prioritize ease of installation and removal, ensuring you can return the property to its original condition. While some may not offer the same level of energy efficiency or security as a permanently installed unit, they provide peace of mind for both pets and their owners. For more tips on pet doors for renters, visit our Tips for Pet Owners Renting a Home.
When to Choose Professional Pet Door Installation Instead of DIY
While DIY pet door installation is a viable option for many, there are clear instances where professional installation provides superior results, especially for complex door types or when aesthetics and warranty are essential. Our team, with decades of experience since 1986, specializes in installations that maintain your home’s integrity and climate control. Complex installations, such as those involving French doors or custom-sized openings, often benefit from expert hands. Professionals can handle the precise measurements and cuts required for French doors without damaging their delicate glass or framing. For sliding glass doors, we offer integrated solutions that replace a portion of your existing glass with a custom unit, providing a smooth and highly energy-efficient pet door. This eliminates the need for bulky panel inserts and their associated security trade-offs.
Abby Hansen, a satisfied customer, chose our in-glass sliding door, noting, “At first I considered getting just an insert door as you could find for sale,” but ultimately valued the integrated solution. Choosing professional installation also guarantees a perfect seal against the elements and enhanced home security. Our installations are designed to be weather-tight and secure, backed by our 15-year warranty. Poorly executed DIY installations can lead to drafts, water leaks, or security vulnerabilities, which can be more costly to fix in the long run. We also offer a “Lifetime Warranty for All Endura Flap Pet Doors” when professionally installed. If you’re unsure about tackling a complex project, or if you simply want the peace of mind that comes with a quality, warrantied installation, contacting us for a consultation is a smart choice.
Frequently Asked Questions About DIY Pet Door Installation
The Bottom Line
DIY pet door installation offers both convenience and a sense of accomplishment for homeowners. Careful product selection, proper sizing for your pet, and careful attention to security and weather sealing are key to success. Whether you choose a simple door mount or a sliding glass panel, always prioritize durability and energy efficiency. For complex solutions or guaranteed results, professional installation ensures unmatched quality and peace of mind.
Ready for Pet Freedom and Home Comfort?
Providing your pet with independent access doesn’t have to mean compromising your home’s security or energy efficiency. Whether you choose a DIY approach or professional installation, selecting the right pet door makes all the difference. Our American-made products, backed by a 15-year warranty, are designed to integrate smoothly while keeping your home weather-tight and secure. Let us help you find the perfect solution for your family and your pets. Explore Our Pet Door Solutions
Related Reads
- 5 Myths About Pet Doors Debunked
- Benefits of a Sliding Glass Door Dog Door
- Puppy Potty Training With Pet Door Products Utah
- 10 Doggie Door Shopping Tips

- The Most Energy-Efficient Dog Doors for Your Home - June 25, 2026
- Dog Door Flap Materials: Understanding Flexible vs. Rigid Flaps - June 23, 2026
- Should I Upgrade to an Energy-Efficient Doggie Door? - June 18, 2026